Pick just the right part
Drag a region, click a window, or press Enter for the whole monitor. The screen stays frozen while you choose.

Capture it. Mark it up. Make your point.
A screenshot tool for Windows, with an editor worth using. Press Print Screen, pick what matters, then add the explanation.
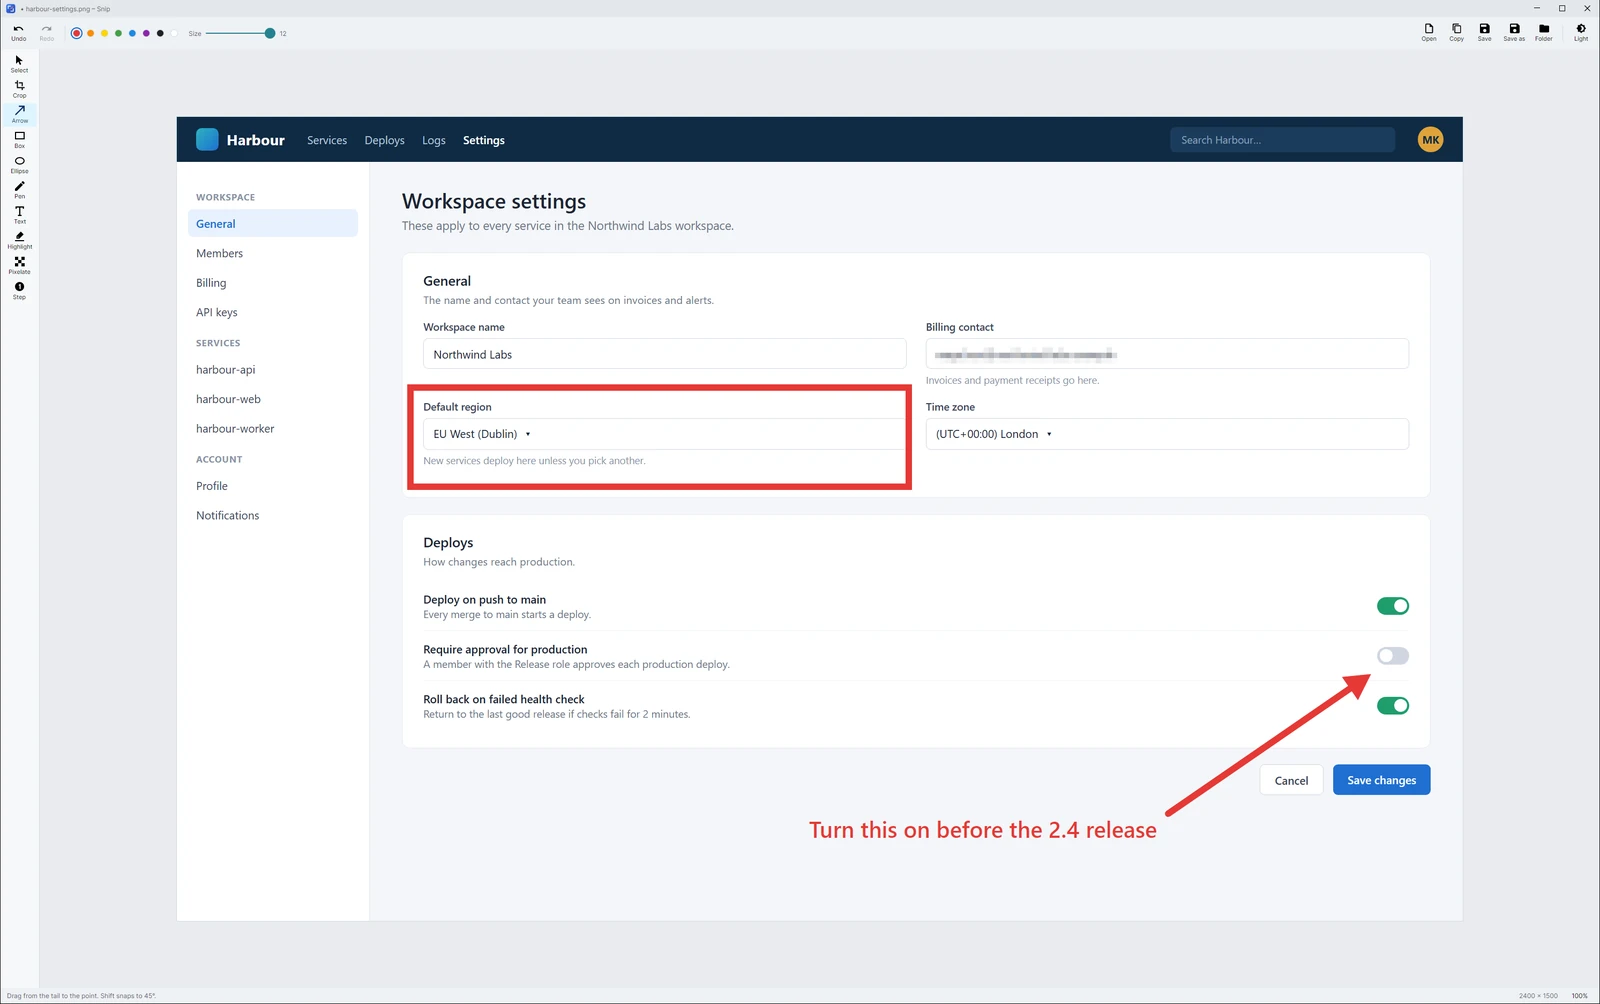
A screenshot, with the explanation already on it.
From a shot to a clear explanation
Show someone where to look, what to do next, and which part matters.
Drag a region, click a window, or press Enter for the whole monitor. The screen stays frozen while you choose.
Arrows, boxes, ellipses, a freehand pen and text. Pick a mark to move it or change its colour and size.
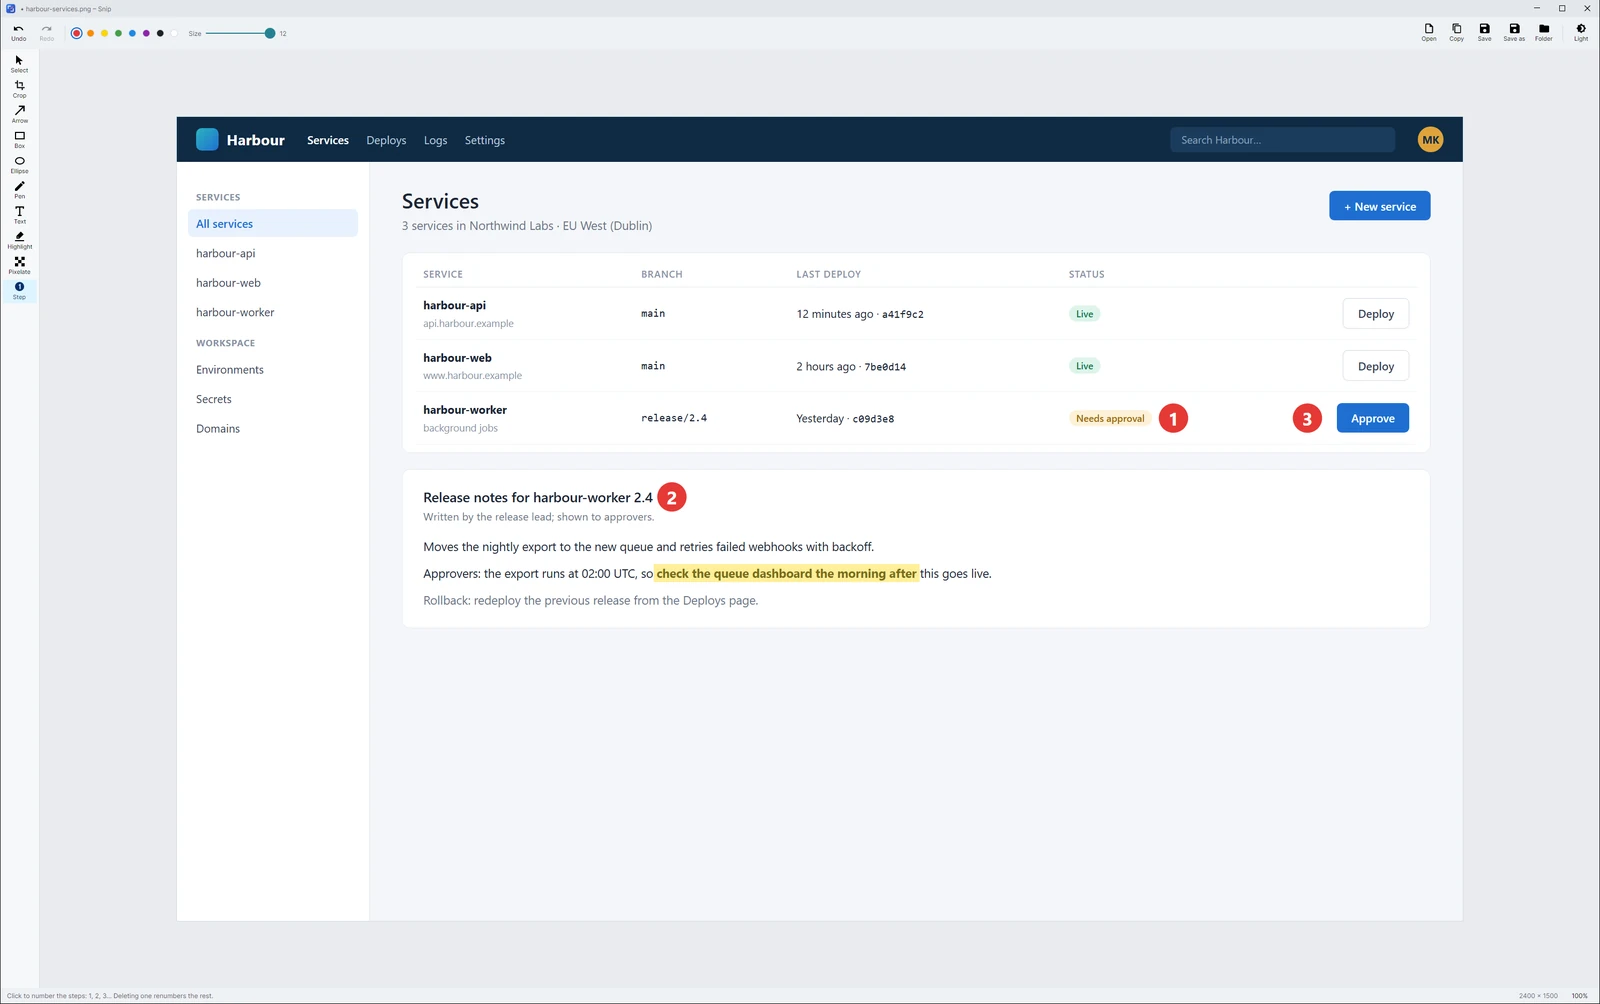
Numbered circles for the order, a highlighter for the detail, and pixelate for the parts you want to hide.
Copy the picture with all your marks, or save it as a PNG. Crop, undo and redo are there when you need them.
A closer look
Capture, explain and copy, without leaving the flow of what you're doing.
Print Screen dims and freezes the screen. Drag out a region, or click a window. Snip saves the shot, puts it on the clipboard and opens the editor.
Pictures\Snip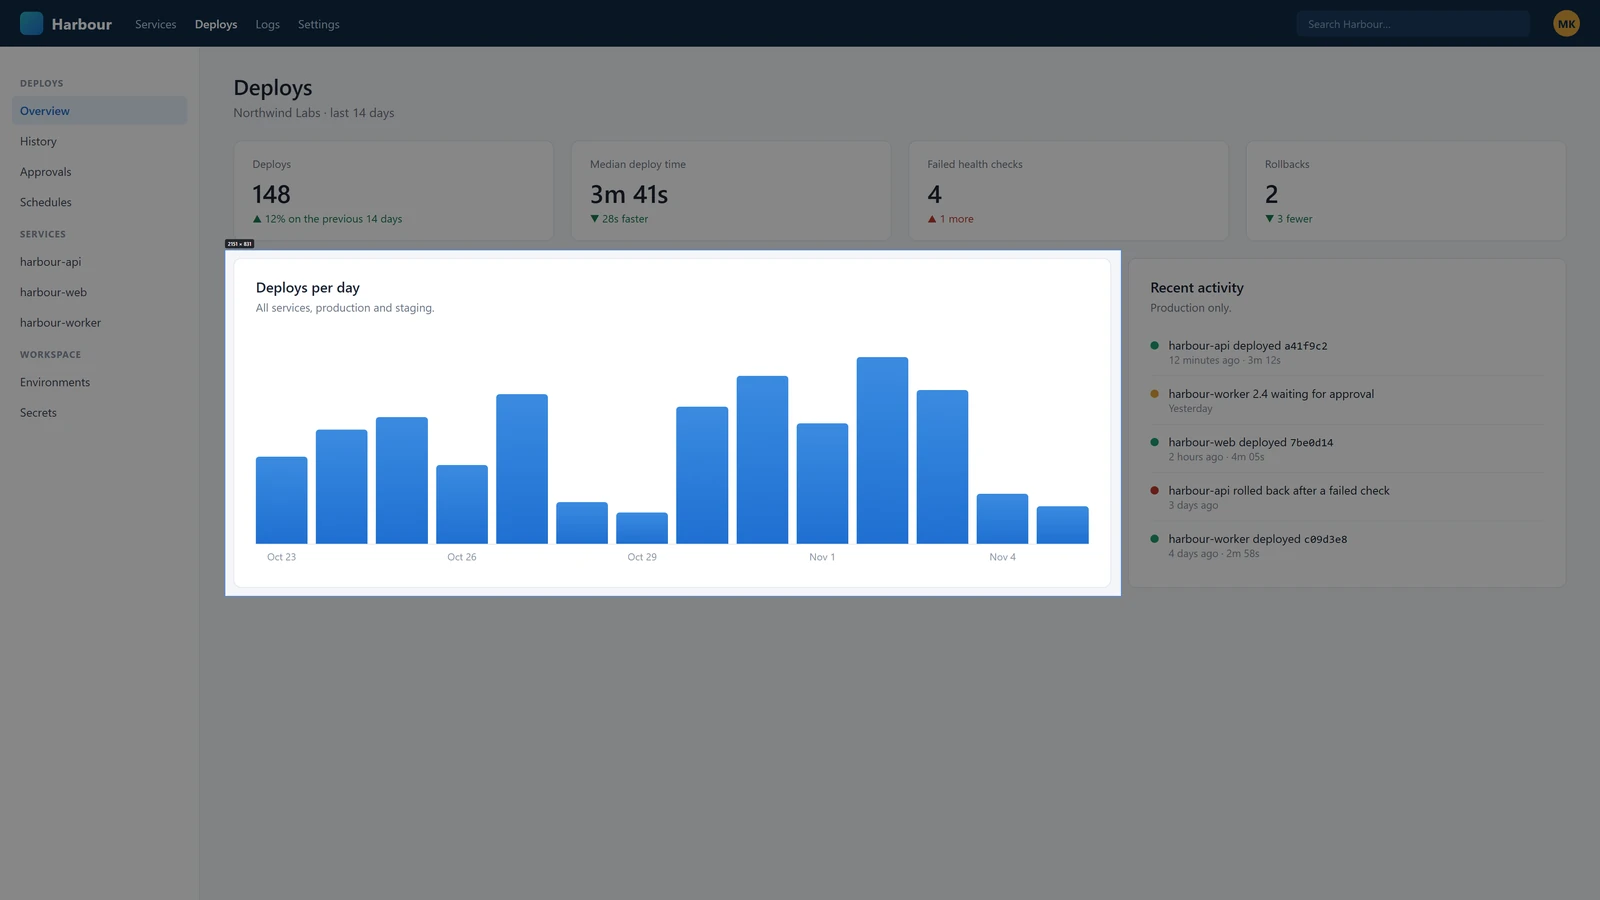
Add numbered steps, highlight a detail and pixelate private information. Move a mark after you've drawn it, edit the text, or undo and try again.
Ctrl+C copies your finished picture. Ctrl+S saves a PNG. Snip only asks before closing when there are marks you haven't copied or saved.
Beyond the PC screen
Use a Pi Dash? When your PC's mouse is on the dash, Print Screen captures the wall display instead. The shot lands on the clipboard and opens in Snip, ready for the same arrows, notes and steps.
Snip finds the Pi Dash desktop app's settings automatically. Dash shots go to Pictures\Pi Dash, and you can switch the integration off from the tray.
No Pi Dash? Print Screen captures Windows as usual.
Download
Run the installer. Snip starts in the tray, starts again when you sign in, and keeps itself up to date.
Snip installs for your Windows account. You can remove it through Settings → Apps.
The installer gives Print Screen to Snip by turning off Windows' own screen-capture shortcut. If another app still holds the key, check Settings → Accessibility → Keyboard, then exit and restart Snip.
New versions come from GitHub Releases. Snip downloads updates in the background and restarts to apply them when no editor is open.
Report a bug or request a feature